Diablo II: ResurrectedModding tools

Diablo II: Resurrected D2RMM mod manager
Builds D2RMM-format mods into one game mod. Install individual skins and convenience mods separately. Nexus lists 1.9.2 while GitHub lists 1.9.1.
Installation
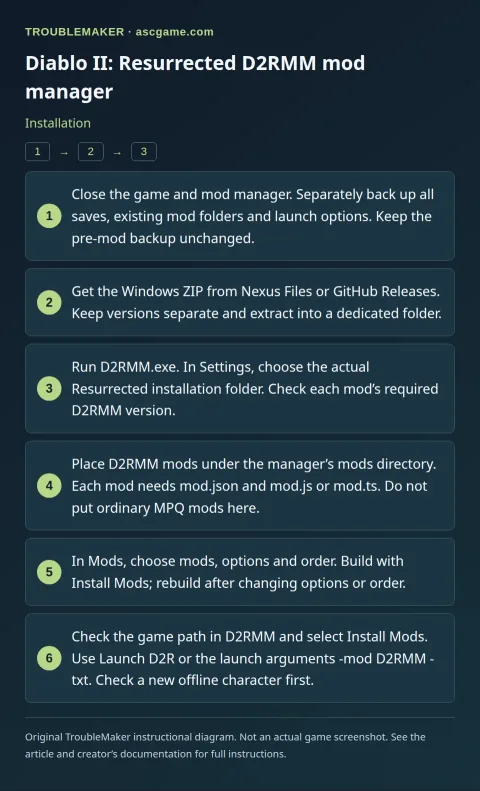
- Close the game and mod manager. Separately back up all saves, existing mod folders and launch options. Keep the pre-mod backup unchanged.
- Get the Windows ZIP from Nexus Files or GitHub Releases. Keep versions separate and extract into a dedicated folder.
- Run
D2RMM.exe. InSettings, choose the actual Resurrected installation folder. Check each mod’s required D2RMM version. - Place D2RMM mods under the manager’s
modsdirectory. Each mod needsmod.jsonandmod.jsormod.ts. Do not put ordinary MPQ mods here. - In
Mods, choose mods, options and order. Build withInstall Mods; rebuild after changing options or order. - Check the game path in D2RMM and select
Install Mods. UseLaunch D2Ror the launch arguments-mod D2RMM -txt. Check a new offline character first.
Removal · recovery
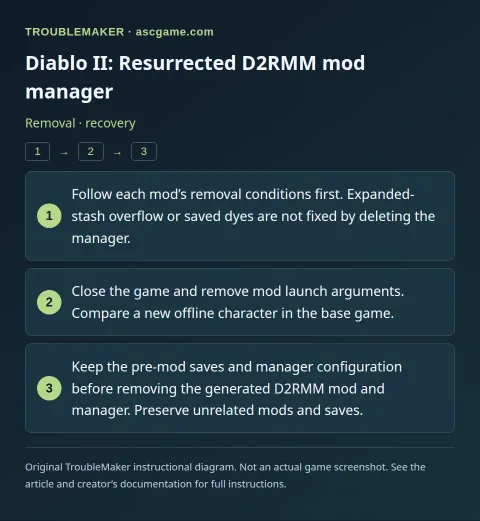
- Follow each mod’s removal conditions first. Expanded-stash overflow or saved dyes are not fixed by deleting the manager.
- Close the game and remove mod launch arguments. Compare a new offline character in the base game.
- Keep the pre-mod saves and manager configuration before removing the generated D2RMM mod and manager. Preserve unrelated mods and saves.